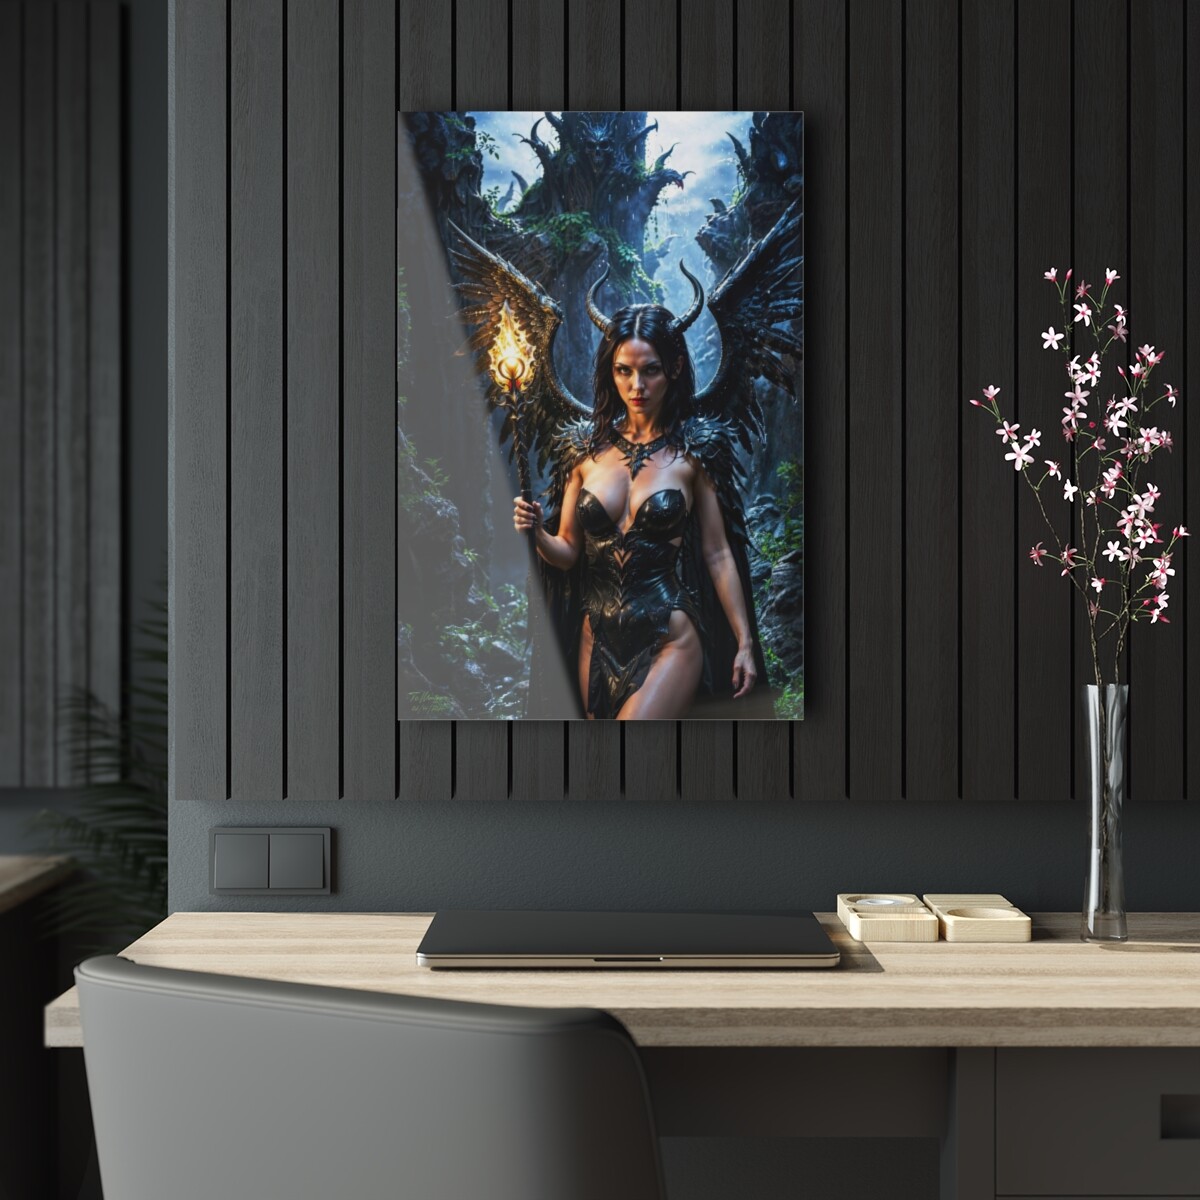
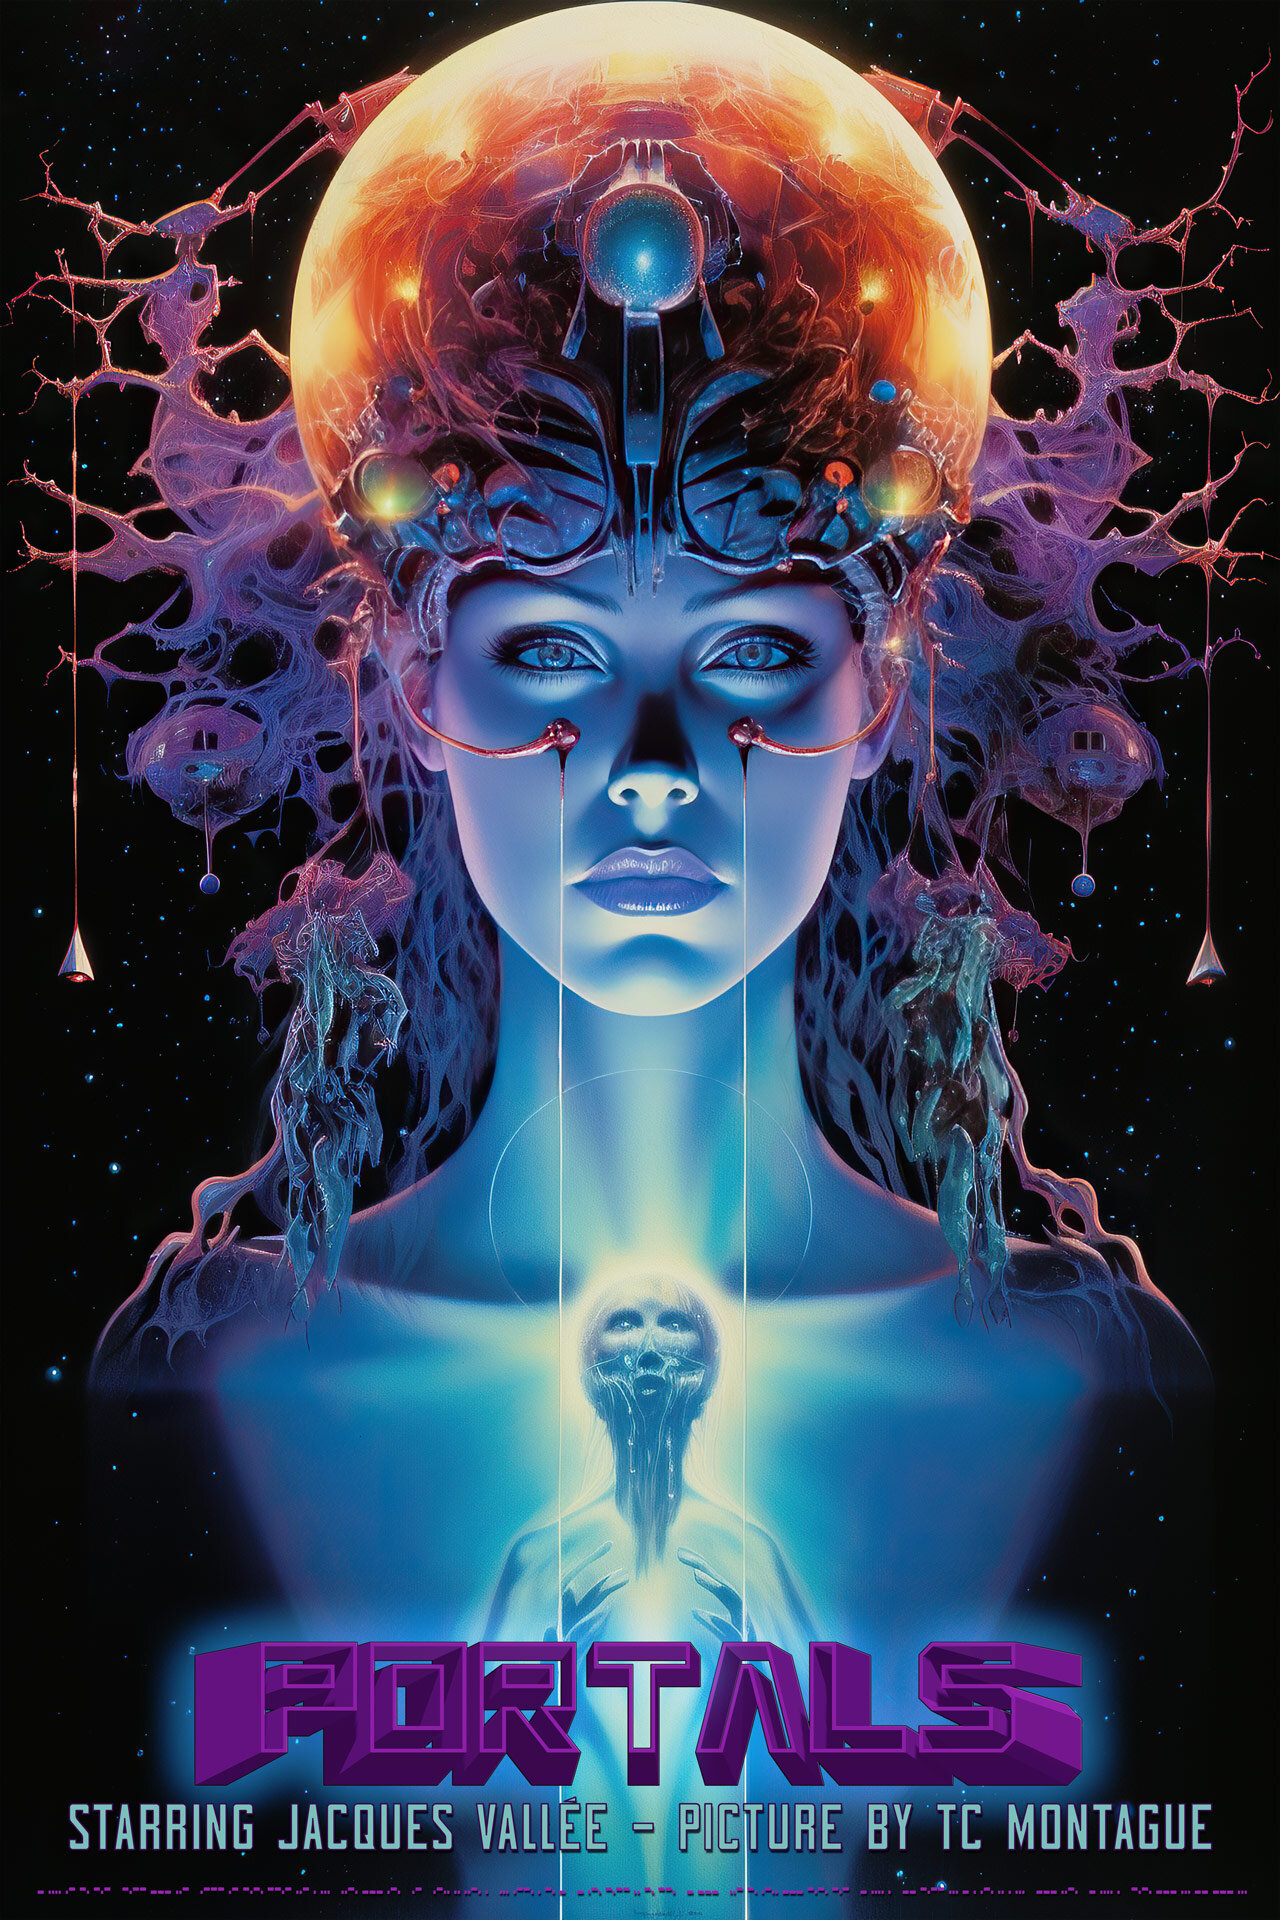
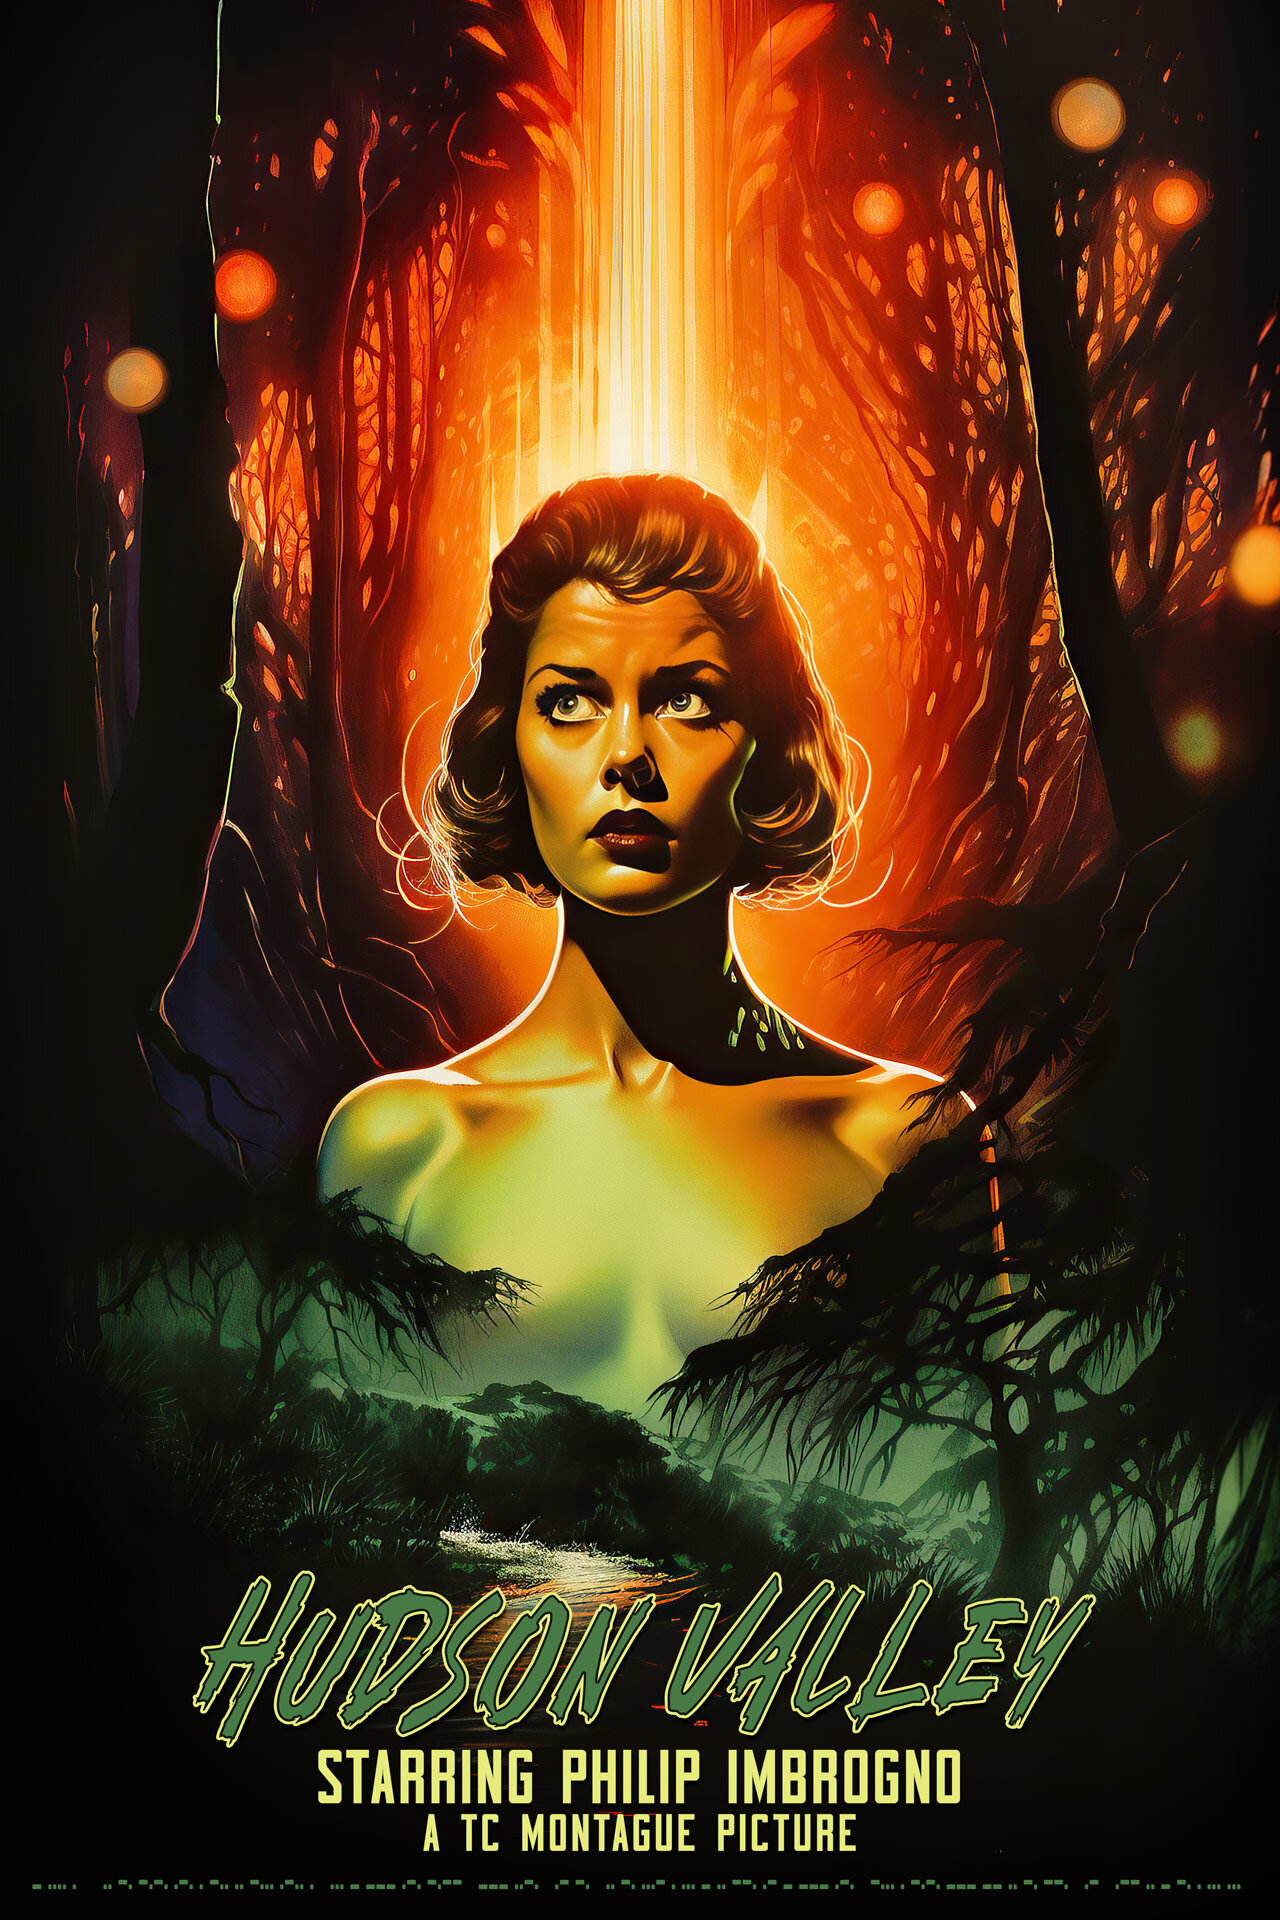
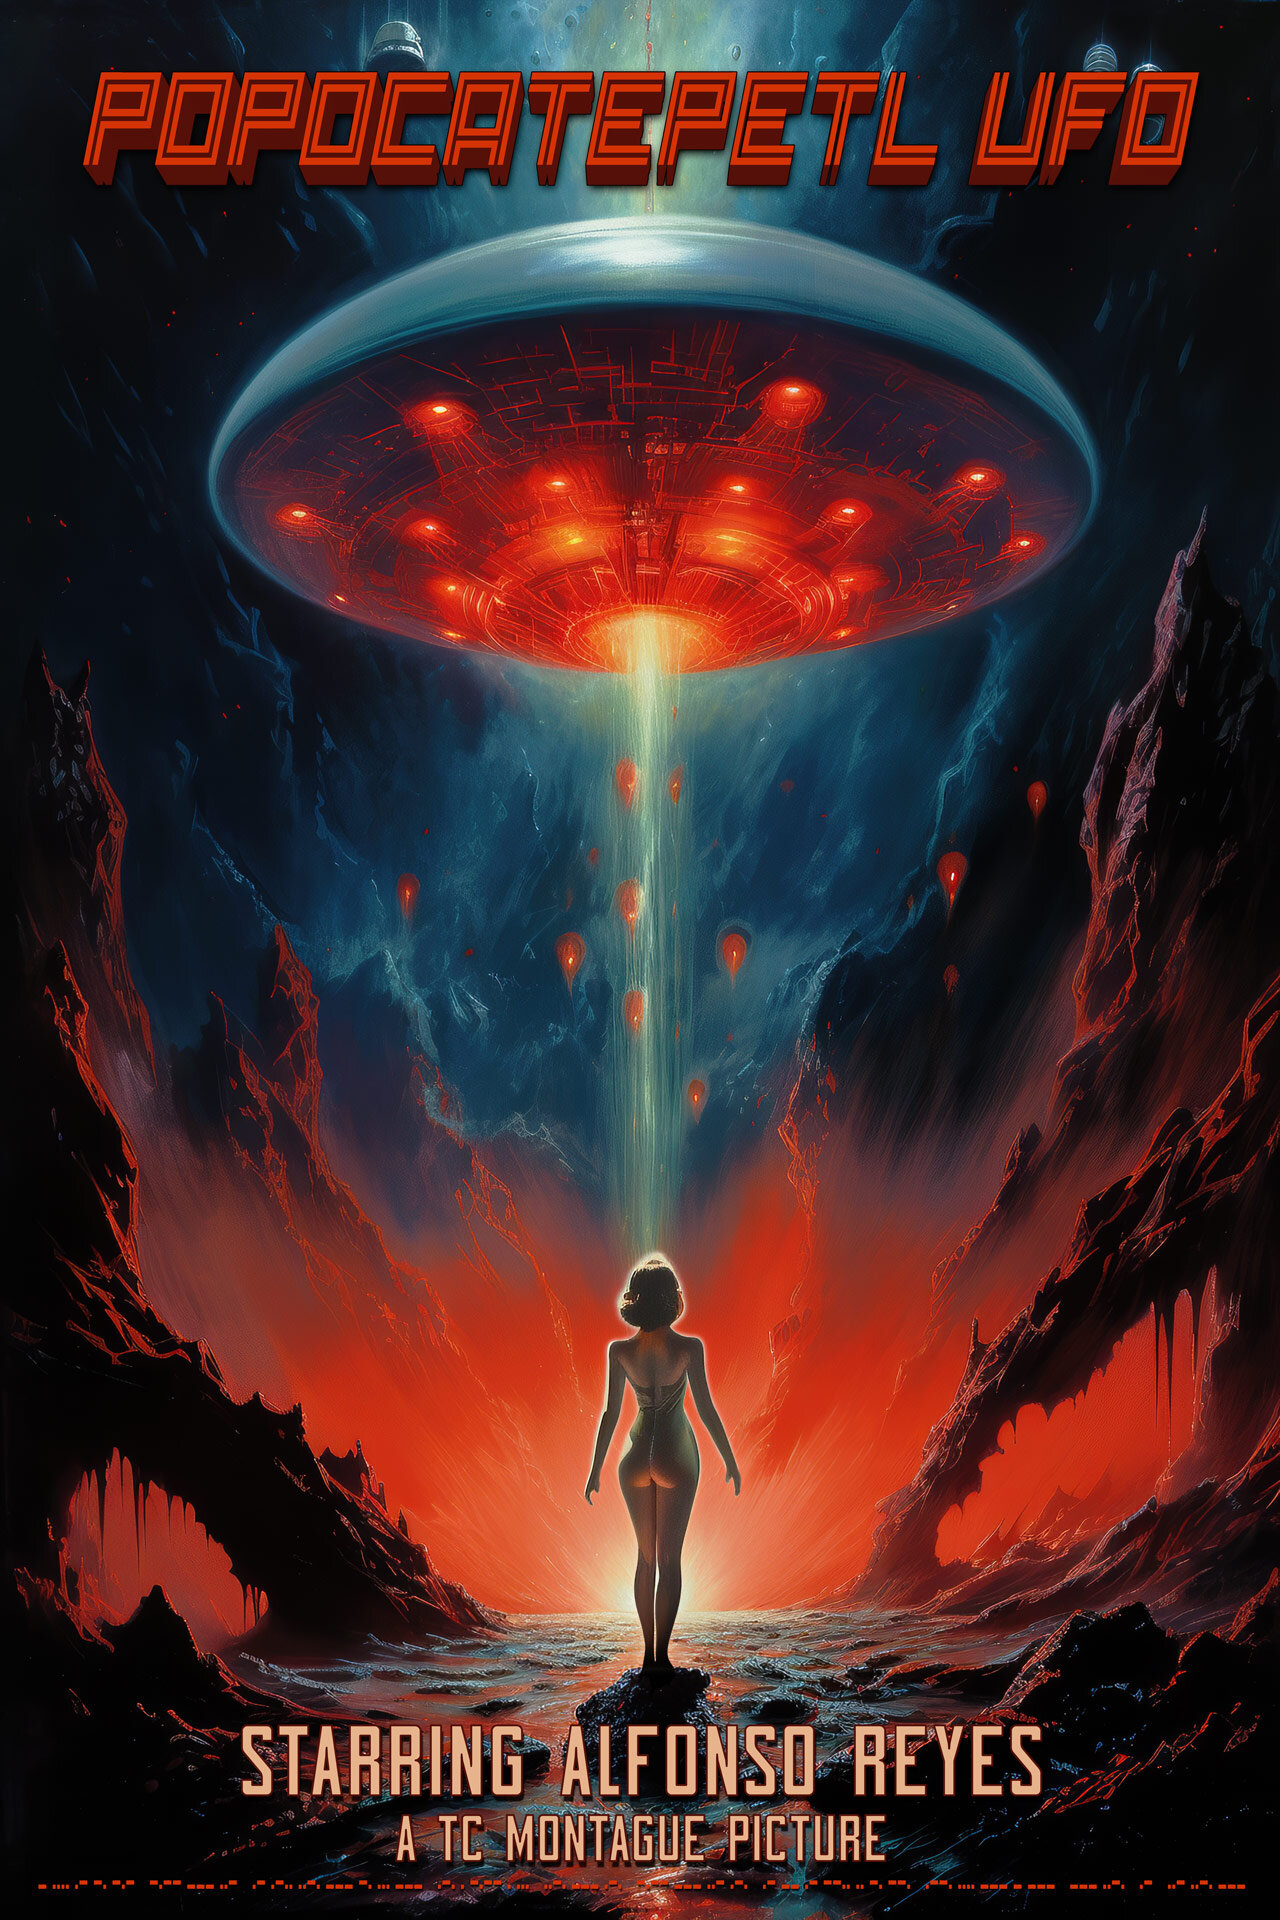
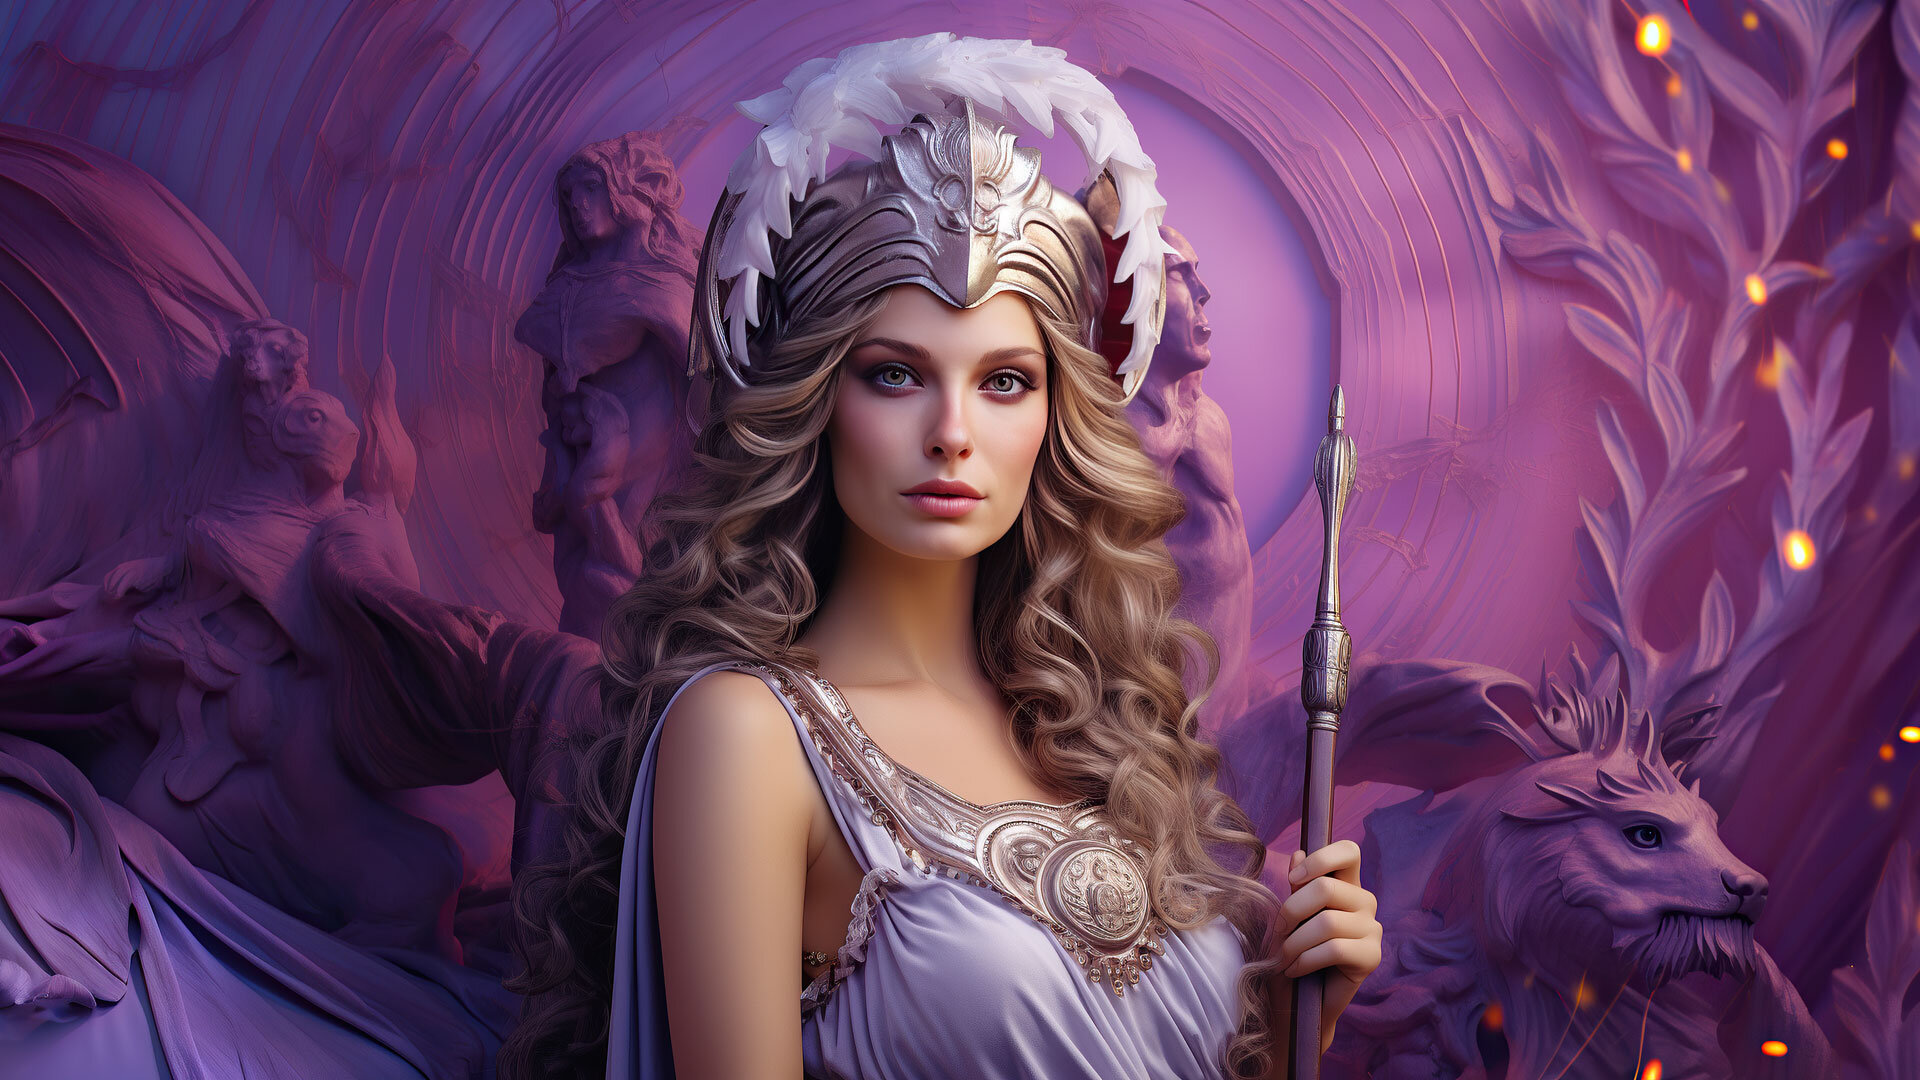
My process began in Mid Journey. Here I explored long prompt engineering sessions to get the scene concept fine tuned to my direction. Once I had a repeatable prompt and artwork from Mid Journey I turned my focus to Blockade Labs. Here I uploaded my generated artwork to train AI on the image data. Then I began to generate scene variations based on my concept art. Once I generated a scene that achieved my vision I brought the generated equirectangular into an AI upscaler by Topaz Labs. This export was brought into Lightroom where additional details, highlights, curves, color, texture, and sharpness were applied.
With a clean sharp 24,576 x 12, 288 pixel image export from Lightroom, the fun could begin in photoshop. With the background layer under the overlay grid in Photoshop I could begin compositing individual high resolution objects and details for the scene back in Mid Journey. These AI generated objects and images also went through up-scaling, and adjustments in lightroom to match the scene. Once imported as smart objects in Photoshop they would go through a rectilinear to equirectangular projection conversion through smart object warping.
I found the key to this workflow was visualizing objects one might find in a futuristic Cypherpunk scene in the year 2081. Once the idea was there, Mid Journey could be used to create some absolutely incredible detail for my scene. After mastering the color, position, and lighting of the object, it would fit seamlessly during the compositing phase.
